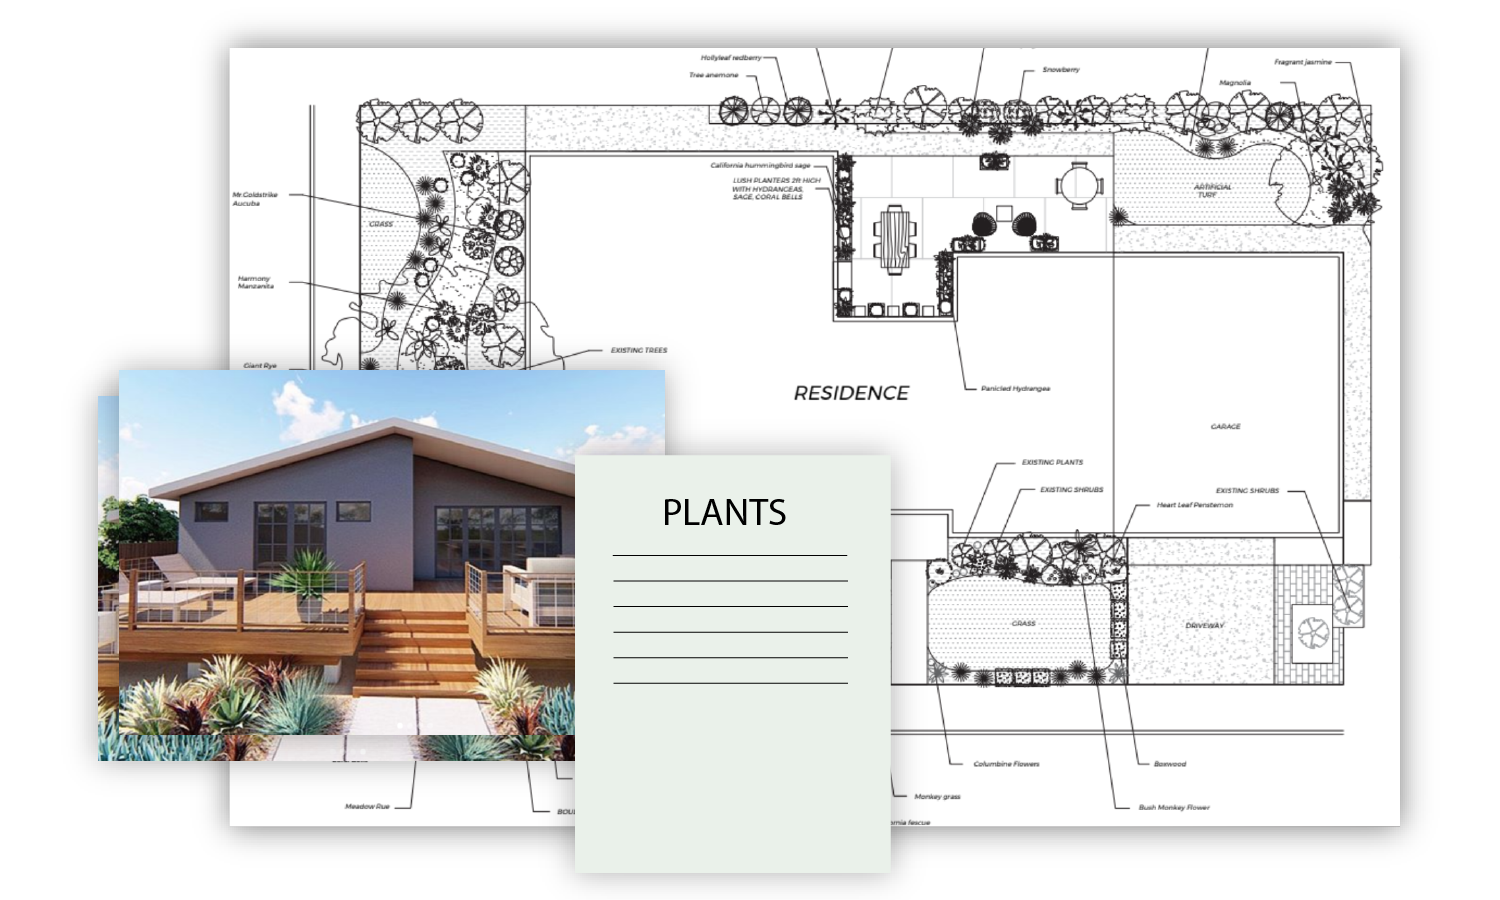
You’ve received your final Yardzen design – now what? Through Yardzen’s Pro Network matching service, included in every Yardzen package, you can connect with a top-rated local landscape contractor to install your design.
Our goal: make the entire build process efficient, successful, and delightful.
Below, we’ll break down exactly how Pro Matching works, share some tips from our Pros, and answer a few common questions about the build process. And, be sure to check out our blog about Preparing for a Home Renovation, too!
THE BUILD PROCESS:
Step 1: Give us the Green Light
As soon as you’ve received your final design, your team will get to work connecting you with a contractor. Because the complexity and cost of a project can change a lot during the design process, it’s important to wait until you’ve received your final designs before advancing to Pro Matching. This sets you up for a smooth start with your Pro.
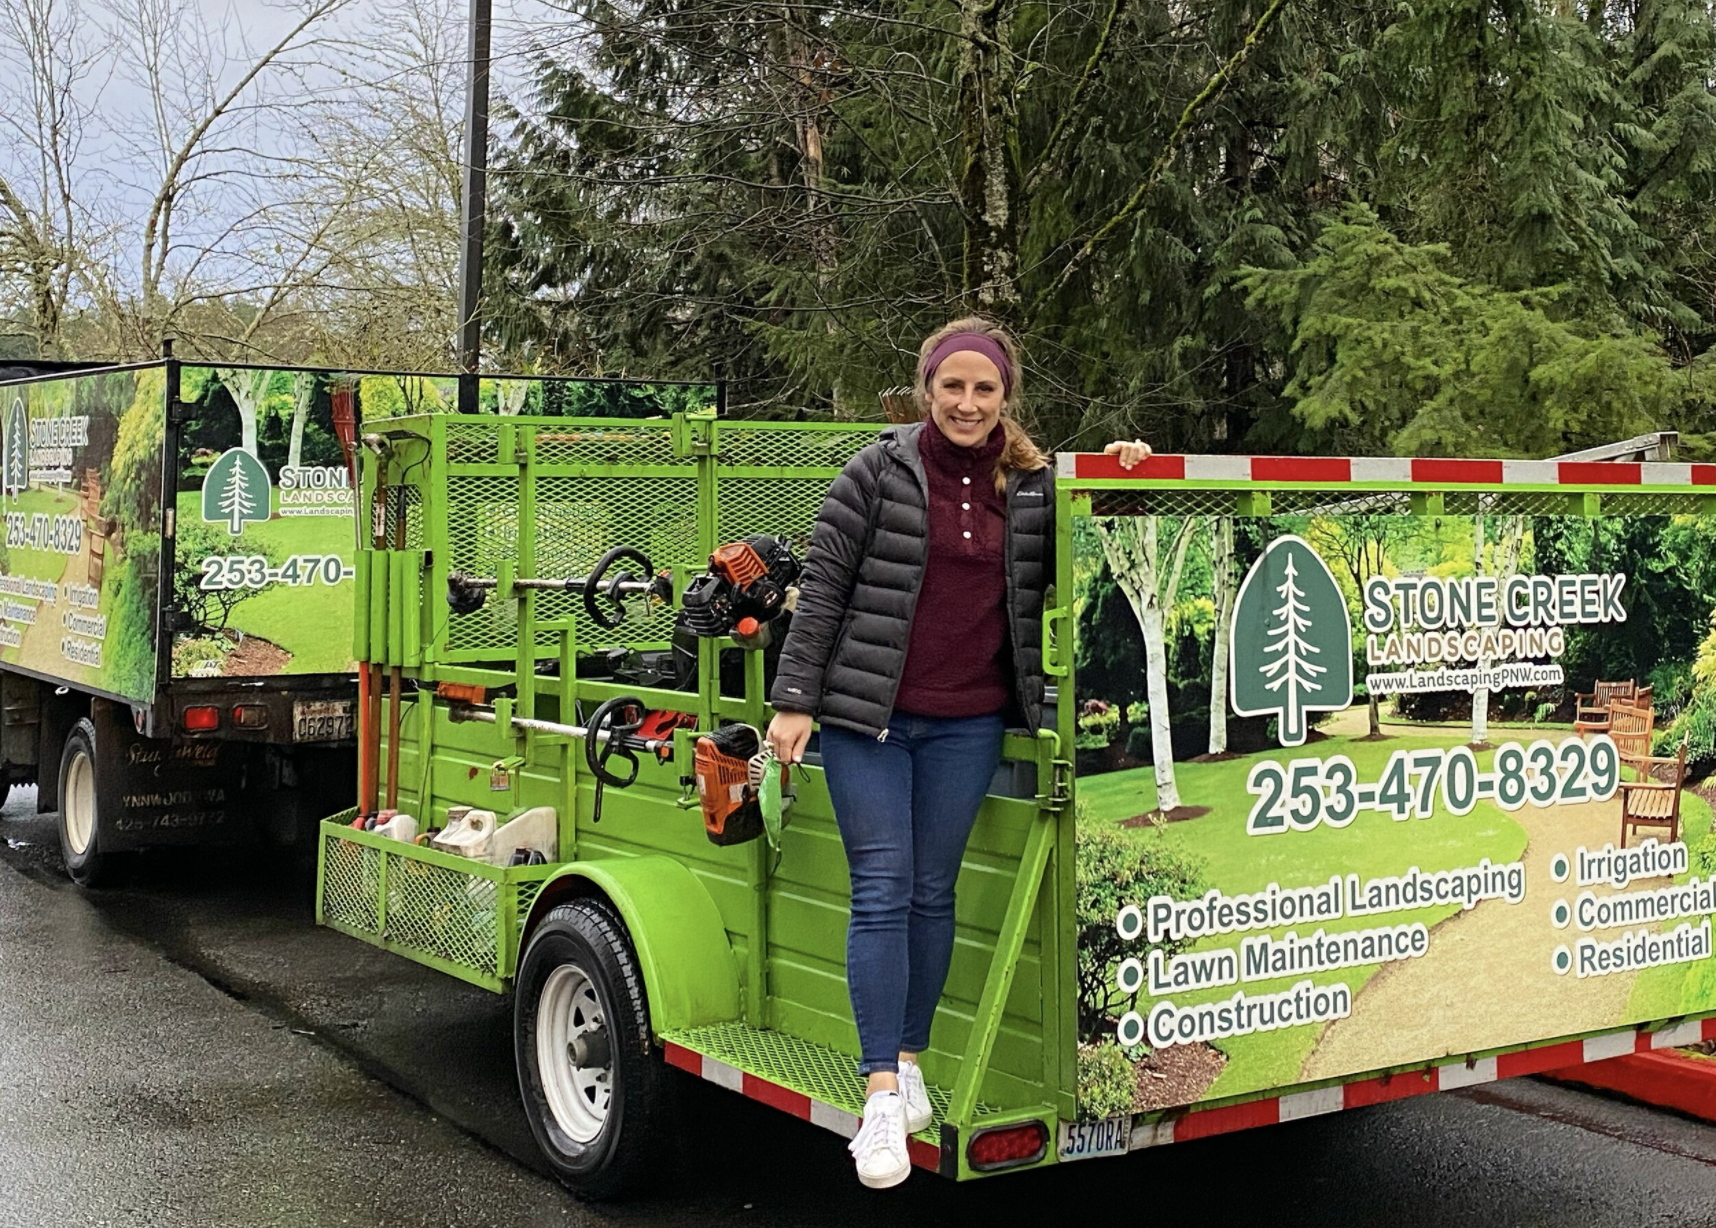
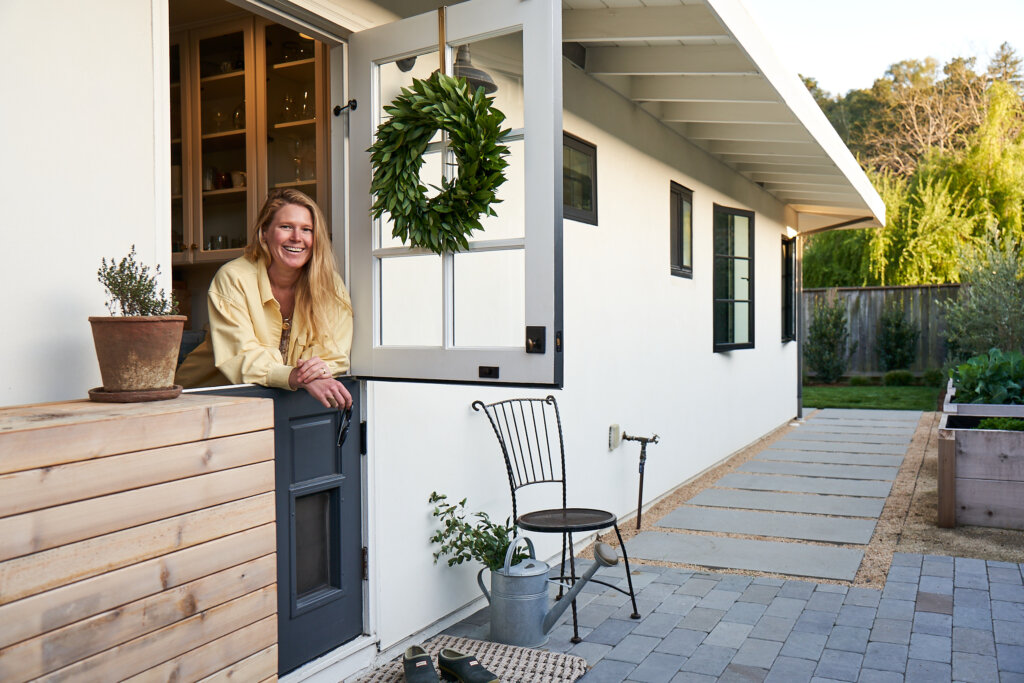
Yardzen Pro Network contractor Chelsey Roney of Stone Creek Landscaping
Step 2: Yardzen Finds your Contractor
Pro Matching begins with finding the very best contractor for your job.
Every Yardzen Pro is rigorously vetted to verify their professionalism, craftsmanship, and customer service. We keep tabs on customer reviews – only Pros with ongoing great scores remain in Yardzen’s Pro Network. Where legally required, we also confirm that our Pros have appropriate licensing, insurance, and bonding.
Contractors often have particular areas of expertise – one may excel at concrete work, another at decks. We closely assess your design and project scope, and cross-reference your needs against contractor expertise. We also factor in your timeline, contractor availability, and location. Weighing all of this information, we determine which Pro from our Network is the absolute best fit to take on your project.
Step 3: Connect with your Contractor
After hand-picking your Pro, Yardzen contacts them about your project. It typically takes 2-3 weeks to receive a confirmed response, but it can take longer depending on a Pro’s availability. As this process unfolds, we’ll stay in touch with you via email to keep you updated on progress.
As soon as your Pro agrees to take on your project, we’ll send an email introducing you to each other. From there, you’re off and running, and can schedule meetings directly with your Pro.
To make sure you remain happy with your Pro, we’ll stay CC’d in your email correspondence – consider Yardzen a resource to support you throughout the entire build process.
Step 4: Bid
Every contractor works differently, but they usually begin with a site walk of your property.
Following the site walk, your Pro will provide an estimate for you to review. This estimate will account for all the elements from your design, along with other necessary installation items, including (depending on the project) demolition, grading, drainage, irrigation, lighting, plumbing, and soil preparation.
After receiving an estimate, it’s common to enter a negotiation period in which you collaborate with your Pro to adjust your design to meet your specific goals. This is where you may make changes to bring costs down, should budget be a concern.
To help you through the bidding process, we offer a Bid Review Service free of charge. If you’d like a second set of eyes to confirm the fairness of your bid, we’re happy to assess it for market costs.
Step 5: Contract
After arriving at an agreement with your Pro, they’ll provide a contract. Once you’ve signed their contract, you’ve effectively hired your Pro, and can move on to scheduling your installation.
Step 6: Scheduling
Seasonality and contractor availability affect scheduling. In colder climates, work often must pause through the peak of the winter. Since Covid, contractors have been particularly busy, contributing to longer lead times.
Our advice is to begin your design process far in advance of when you want work to be completed – this provides cushion for unforeseen delays in getting your project started.
Step 7: Installation
Once work begins, it can move quickly or slowly depending on the project.
As a general rule, expect to complete roughly $10K worth of work per week – if your project was bid at $50K, it would probably take about 5 weeks to complete. This being said, if your project involves slopes or other complex factors, it is prudent to expect a slower pace.
Check out our guide to Preparing for a Home Renovation, too!
Tips from Our Pros:
We asked our contractors how clients can contribute to a successful project. Here are some highlights:
Be flexible. Our Pros make every effort to follow your design precisely, but there are often legitimate reasons for the installation to make diversions from the design. Set flexible expectations of the final product. If things don’t exactly match your designs, but the end result is a beautiful, high-functioning yard that fulfills your needs and vision, then the installation is a success.
Collaborate. Contractors are partners, not commodities. They want a successful outcome as much as you, and work hard to get there. Stay engaged in the process and maintain mutual respect, and you’ll have a more harmonious and successful project.
Let go of perfection. Small imperfections are common in landscape construction. If something looks off or bothers you feel free to bring it up to your Pro. Often there is a logical but not readily apparent reason for things being done in unexpected ways. Major mistakes should be corrected, but try not to sweat the small stuff too much.
Be forthright with payment. Offering to pay before a contractor asks shows goodwill. A simple, “let me know when you need a check” can go a long way.
Show appreciation. A box of donuts, cold drinks for the crew or a “the new deck looks great” shows gratitude. Small gestures make your build team feel appreciated, and motivates them to do the best job possible.
Communicate respectfully. Asking questions is great, but do so without questioning the contractor’s ability. Questions like “Is this plant going to die if you plant it like that?” erode trust, and lead to less successful outcomes.
FAQ:
What if there are no contractors in my area? Yardzen’s Pro Network is growing by the day, and we work diligently to connect our clients with the right contractor for their project whenever possible. Should circumstances prevent us from connecting you with a Pro, we’ll reach out directly to discuss possible next steps. Typical issues that can delay a Pro Match include a project site being distant from an urban center, or a project being exceedingly challenging due to budget constraints, site conditions, or design complexity.
What if I don’t like my contractor? If you are unhappy with your Pro, please let us know and we’ll help you to navigate the situation. Should you wish to work with a different contractor, we’ll do our best to connect you with a new Pro, but cannot guarantee a second match. You are also free to search for your own contractor, and we’re happy to help by vetting anyone you find.
What if I want to compare bids before signing a contract? We support any client who wishes to compare multiple bids before committing to a contract. Yardzen does not match clients with multiple Pros at a time, but we’ll gladly look at any bids you receive from contractors you find independently to review for fairness.
How do you design to budget? The Yardzen journey begins with a budget exercise to align you and your design team on approximate costs to expect for your design. Your designer then tracks project costs as they work, and we reach out anytime your budget target feels like a mismatch for your design goals.
Many variables influence final project costs, from material selections, to plant sizes, to unforeseen site complexities. As installation nears, you can get a more precise picture of project costs, and occasionally variables will push a project below or above the estimated target budget. This is very normal, and easily addressed by you and your Pro working together to make design adjustments that balance your design and budget goals.
What if new issues requiring more budget pop up during installation? Unforeseen expenses are common in landscape installation – expect the unexpected. We highly recommend including a cushion in your project budget to absorb unforeseen costs; this is a common practice in the construction industry. If drawing from a cushion fund is not viable, you can work with your contractor to cut costs from your design to free up budget to cover unforeseen issues.
What if I want to make changes pre-install to reduce costs? The most common and simplest method to make pre-installation design adjustments is to simply talk through changes with your Pro, who will incorporate them into your installation. If you need to capture changes on paper, you and your Pro can make editorial marks on your final design’s CAD drawings, and send them to your design team, who will provide updated CAD drawings for you free of charge (this process is called “redlining”).
Do I need a minimum budget to work with a Pro? Yardzen creates designs for clients with a wide range of budgets, but we recommend having a minimum of $15,000 to spend in order to be matched with a Pro in our network. Check out our Guide to Landscaping Costs to figure out what a realistic budget is for you.
Can I phase my project? As we’ve mentioned before, phasing increases lifetime project cost by repeating set up and clean up expenses, but for many it is the best path to achieving a complete landscape vision. If you choose to phase, we do recommend budgeting at least $15K for the initial phase.
How do you handle permitting? Permit requirements vary from one regulatory agency to the next, but it is typical for permits to be required for new plumbing, electrical, or structural features, including walls above 3’ tall and closed-roof outdoor structures. If your project requires permitting, we’ll aim to match you with a Pro who will be able to assist with securing the necessary permits or guiding you through the process.
What if I want to DIY? DIYing can actually be more expensive, especially when factoring lifetime costs. Licensed contractors get landscape materials at wholesale prices, and can insure the longevity of their work. DIYing leaves you paying retail prices, and on the hook for future repairs. DIY demolition may seem like a savings, but it typically skips crucial grade preparation that contractors must go back and complete, undoing the savings from your hours of demo labor. Unless you have significant landscape installation experience, we strongly encourage hiring a professional.
Featured Articles
How an Interior Designer Created “Outdoor Rooms” in Her Yardzen Yard
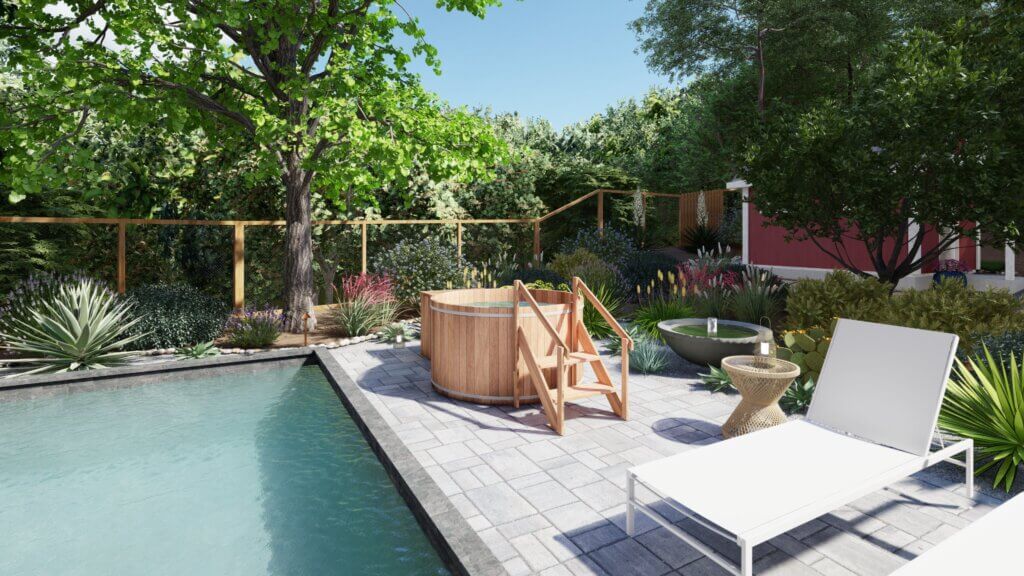
The Best Outdoor Cold Plunge Tubs & Ice Baths in 2024 (Chosen by Our Client...
Our Dreamiest Plunge Pool Yard Designs
Our Favorite No-Grass Front Yard Ideas
